
Setting up a Smart Shunt for a Roamer LiFePO4 lithium battery
Using a SmartShunt gives you an overview of the power left in your battery, as well as showing you the power going in and out of the system if using a Cerbo GX and VRM (online) or Touchscreen display.
Before you start
Make sure you have the following:
Smartphone or Laptop with bluetooth connectivity
The VictronConnect app installed
Victron SmartShunt (Standard or IP65)
VE Direct cable, or USB-VE Direct cable (optional, for connection to GX device)
Configuring the SmartShunt

Open the VictronConnect app, and connect to your new SmartShunt. You might be prompted to change the PIN code, or the PIN code may not be "000000"; in which case it will be printed on the label on the side of the SmartShunt.
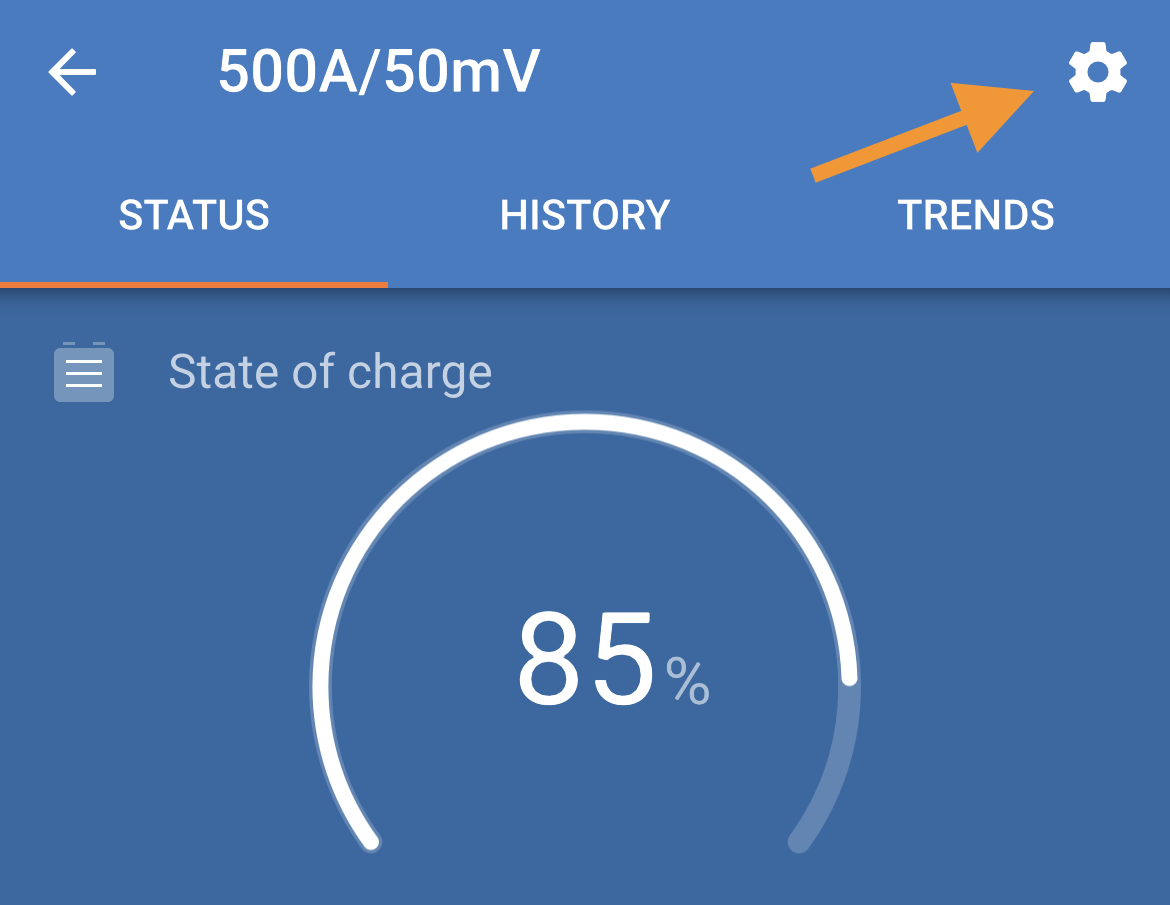
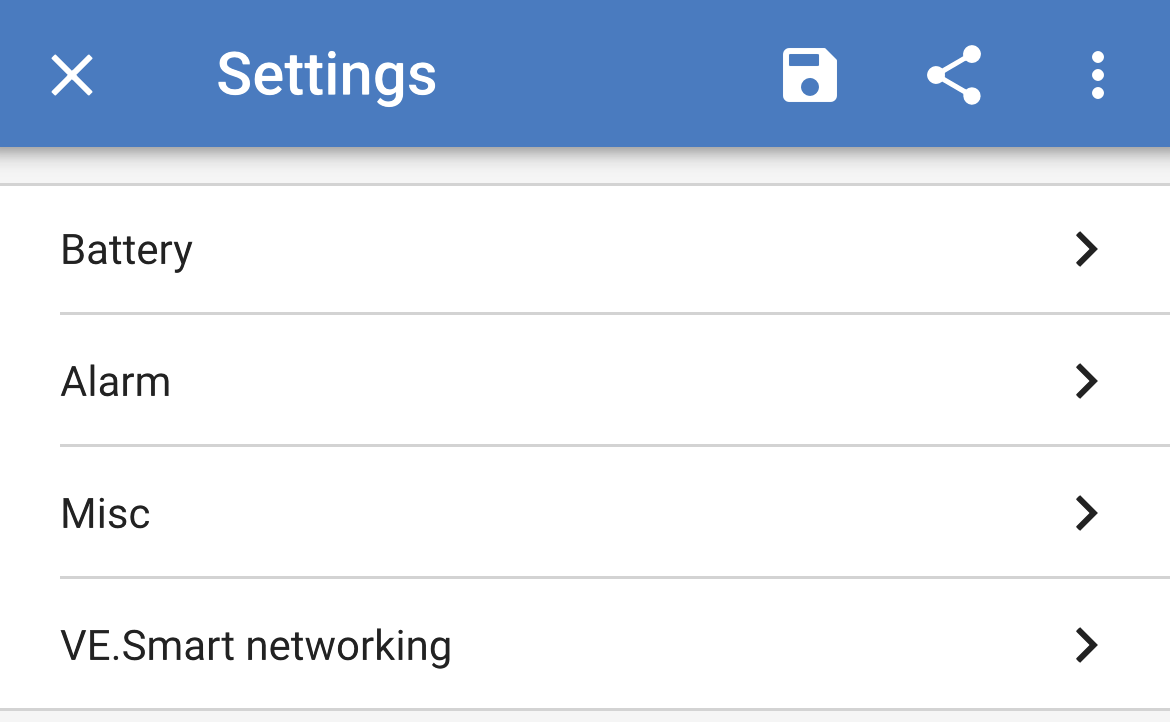
Tap on the Settings icon on the top right corner.
Optimum settings for lithium

Tap on the Battery tab.
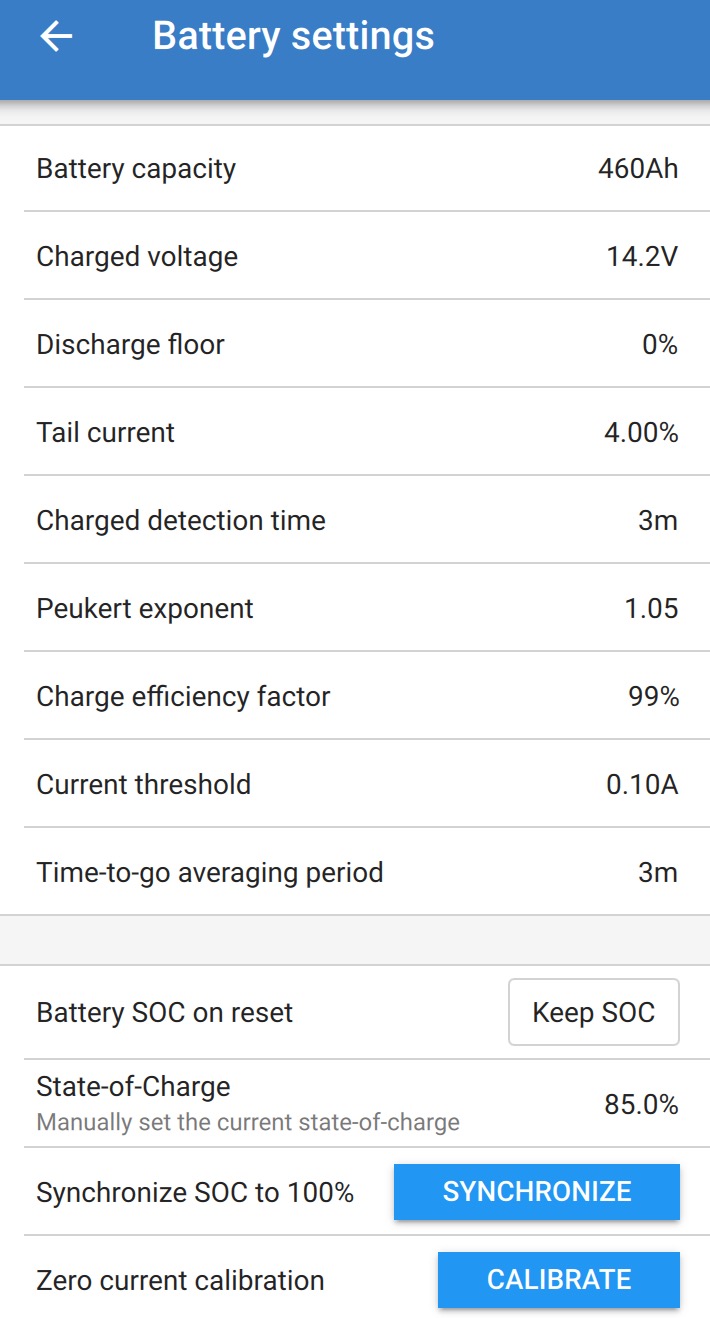
For a Roamer SMART 4 battery, enter the settings as displayed in the image above.
For Roamer SMART 2, SMART3 and SMART 5 battery, Set this to 14.0V
Your battery capacity may not be 460Ah, please set this according to the datasheet on your battery.
Note that the 'Charged Voltage' setting is what Victron uses to calibrate the battery monitor as full. The recommended setting of 14.0V assumes you will charge the battery to 14.2V but if you are using a different charge voltage then set this to a value that is 0.2V LESS than the target (absorption) charge voltage. So for example if your charger is set to an absorption charge voltage of 14.0V, you would use a value of 13.8V instead.
To change any settings, tap on the value on the right, and then a pop up box will appear for you to type in the new value or adjust the value with a + or - button.
If you have a 24V or 48V battery, the "Charged Voltage" will be doubled or quadrupled respectively. All other settings will remain the same, with the exception of the Battery Capacity.
Miscellaneous Settings
When you get to the "Battery SOC on reset", this tells the SmartShunt what to do when it loses power. In this case, we want it to remember what the battery capacity was when it loses power, so you can turn off your battery isolator for storage purposes, and avoid the SmartShunt defaulting back to 0% or 100% when you turn the isolator back on. This is why "Keep SOC" is selected.
Press the back arrow.

Tap on "Misc".
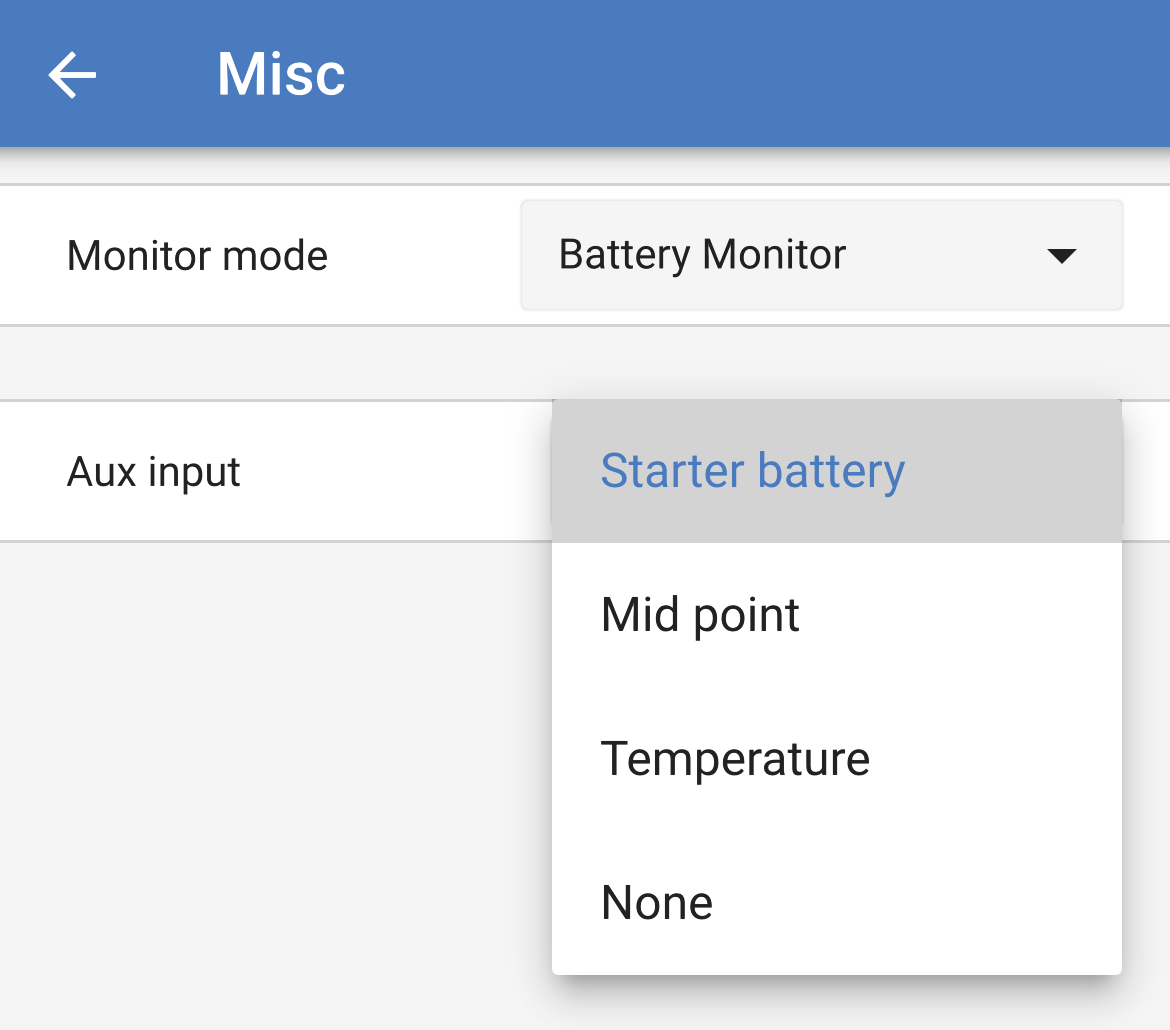
Select "Battery Monitor" in Monitor Mode.
For Aux input, select "Starter Battery". This is so we can see the voltage of the starter battery within the VictronConnect app, VRM or on your Touchscreen.
You can select "None" if you don't have the starter battery wired into the SmartShunt.
Press the back arrow.
VE Smart Networking
Proceed with this ONLY if your system does NOT have a GX device. This is usually a Cerbo GX or Ekrano GX.
If you have a GX device on your Victron system, then you should use DVCC instead. Contact Roamer for more information on this, or book a system configuration: Book Here
Joining the VE Smart Network
Tap on "VE Smart networking".

Tap on "CREATE NETWORK", and give it a name in the popup box that appears. We've called ours "Roamer" here.
Remember this name, you'll need it later for the rest of the system setup if you have more Victron equipment.
Press the back arrow.

Alarms
Tap on "Alarm".
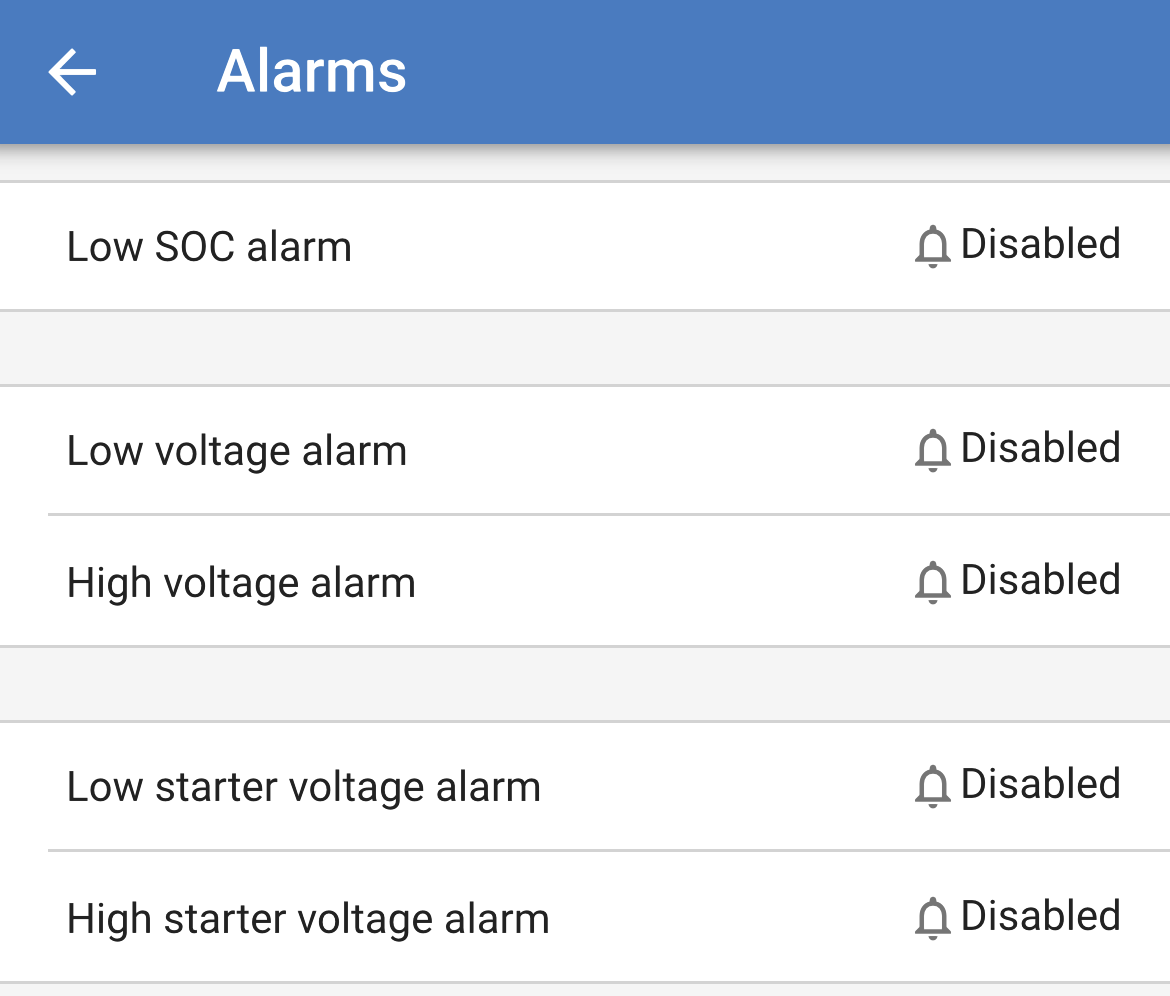
Here you can set any alarms you may require.
These are software alarms, which will be presented to you when you open the VictronConnect app and connect to the SmartShunt, or via VRM and/or your Touchscreen if you have a Cerbo GX connected to the system with an internet connection.
The triggers activate below a user-defined value, and automatically clear above another user defined value.
You can set these however you wish, as they are information only, and have no direct control over the system.
Press the back arrow twice to return to the main page, or three times to return to the devices list.
All done, your SmartShunt is now set up for use.
For any help or support, contact Roamer: support@roamer.com