
Setting up a SmartSolar MPPT controller for a Roamer LiFePO4 lithium battery
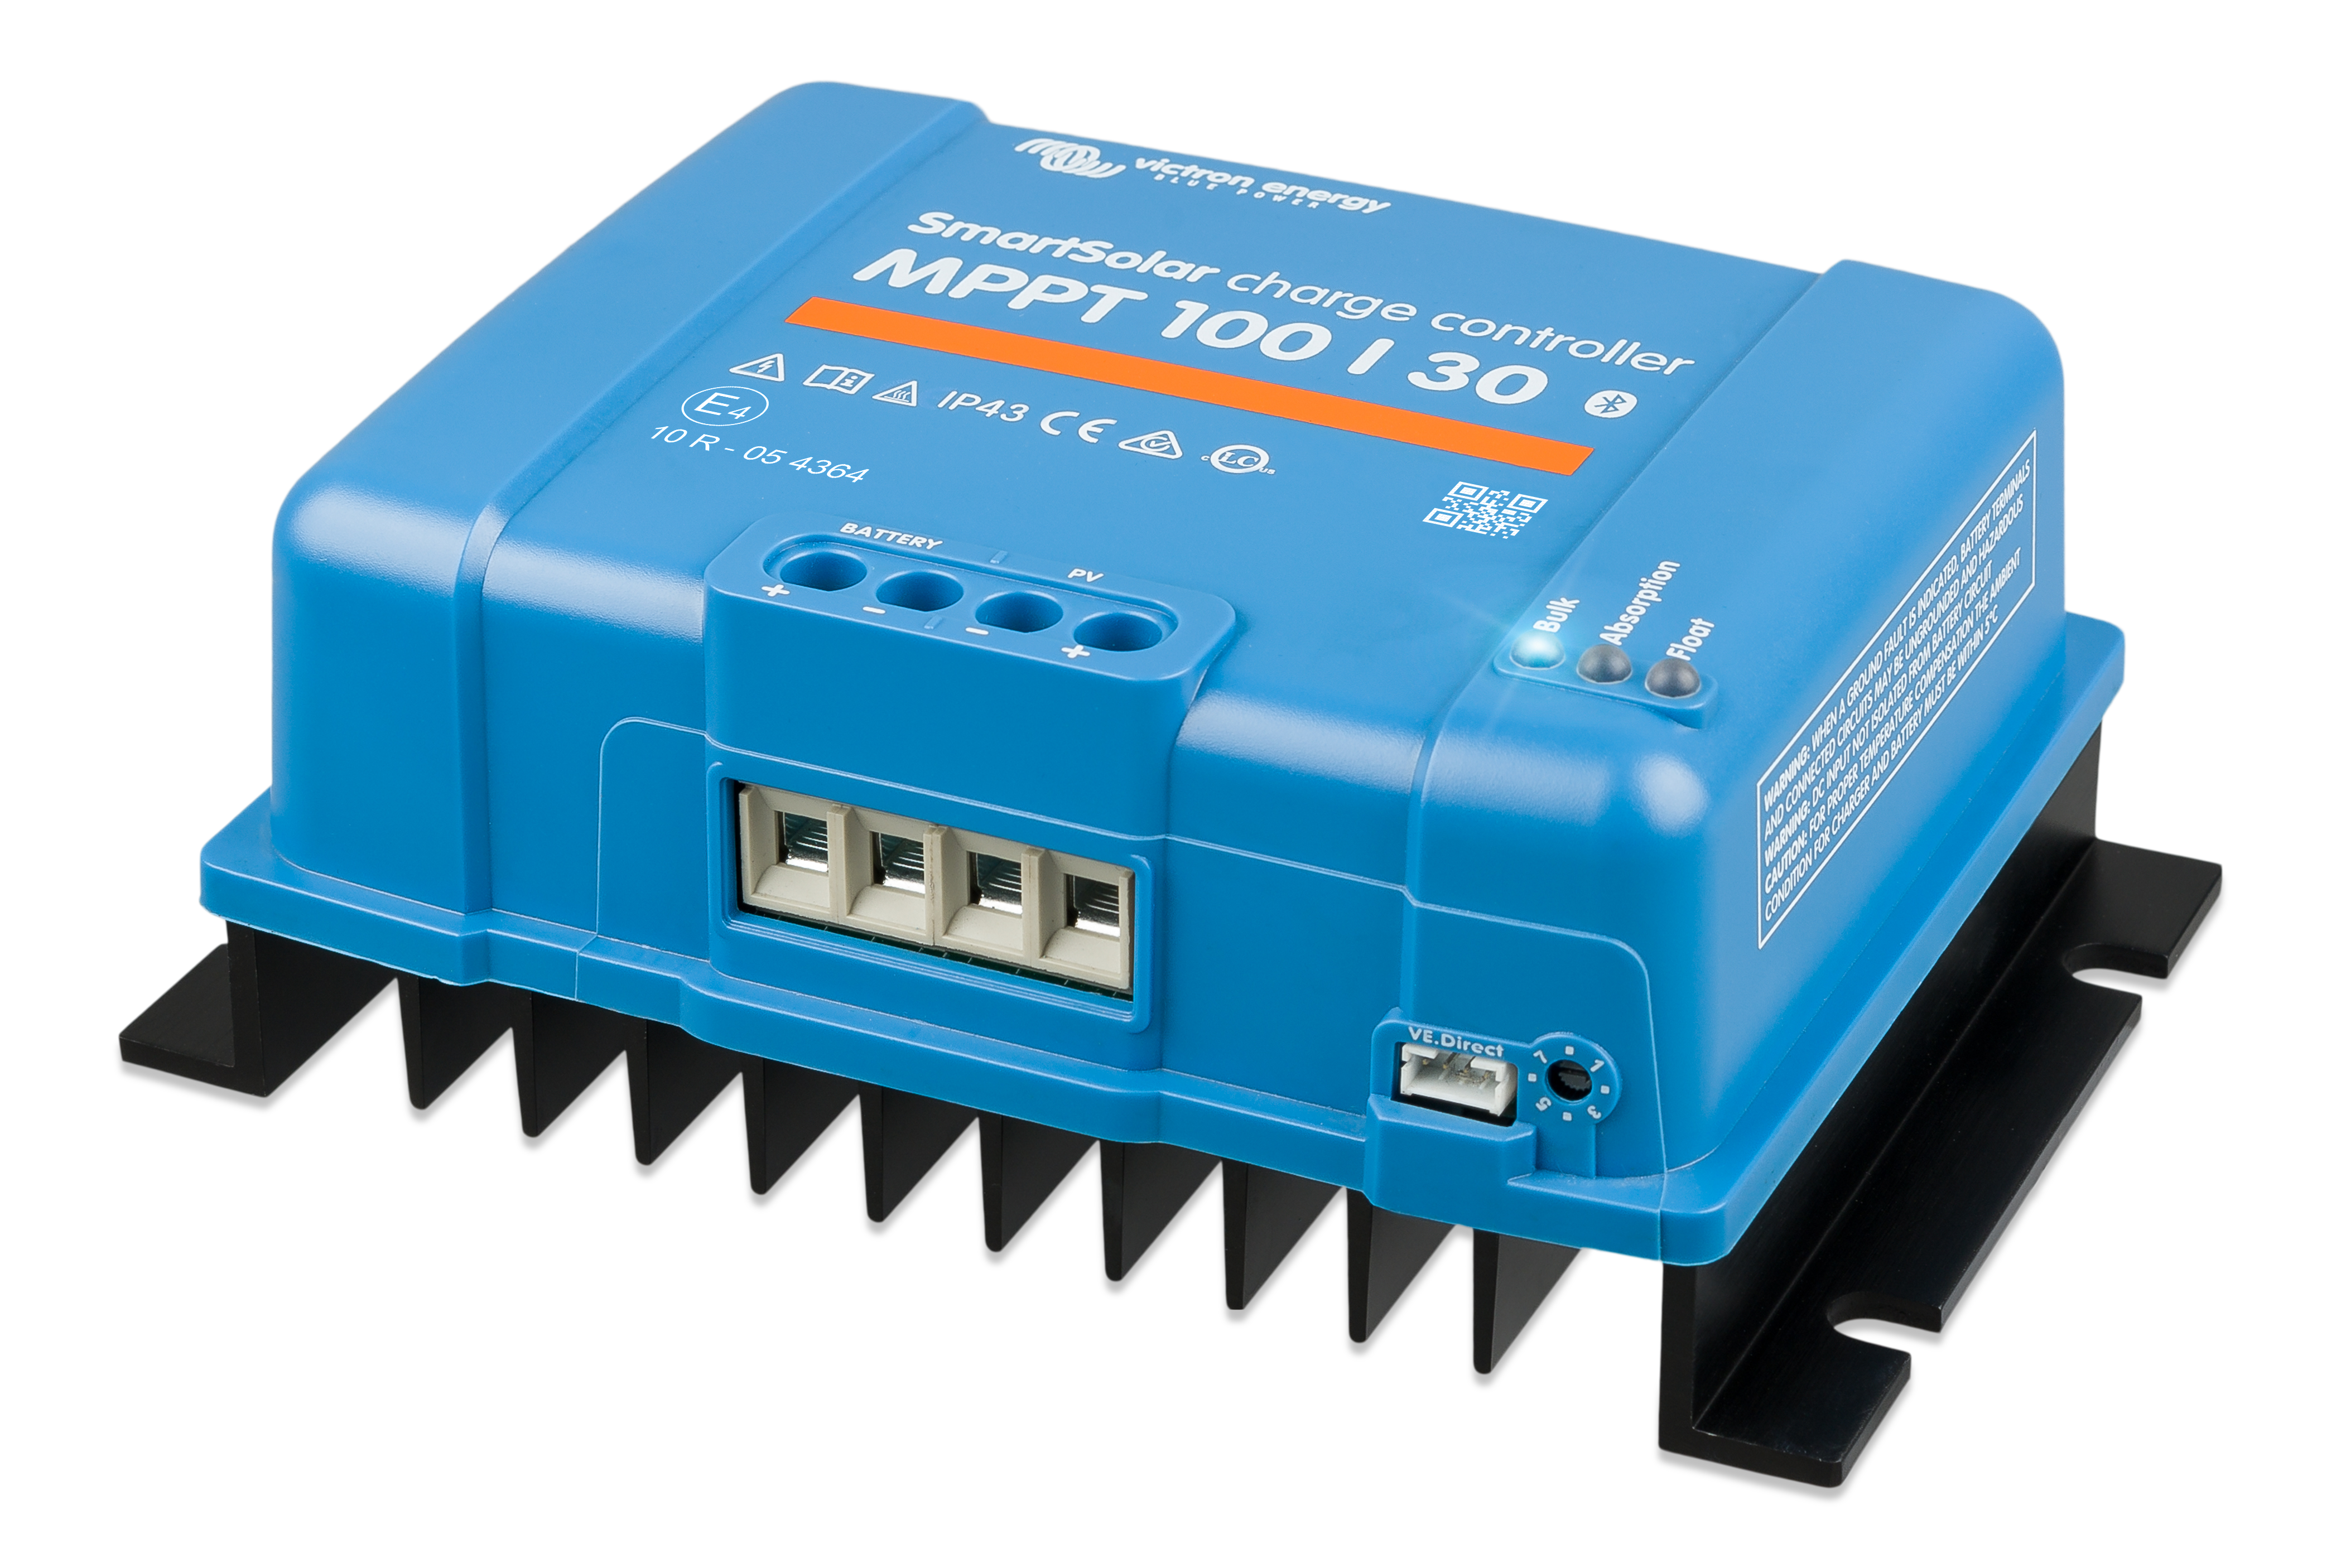
The Victron SmartSolar is a series of MPPT controllers ranging from the 75/10, all the way to the 450/100.
They all have the same basic features and setting them up can be done in as little as 60 seconds.
Before you start
Make sure you have the following:
Smartphone or Laptop with bluetooth connectivity
The VictronConnect app installed
Victron SmartSolar MPPT Controller
It is important to connect the MPPT controller to your battery first, and then the PV (solar panels) after the unit has been set up and configured for your battery type. Connecting the PV panels without a battery connected can cause damage to the MPPT controller.
Configuring the SmartSolar
Open the VictronConnect app, and connect to your new SmartSolar. You might be prompted to change the PIN code, or the PIN code may not be "000000"; in which case it will be printed on the label on the side of the SmartSolar.

Tap on the settings icon in the top right.
Battery settings
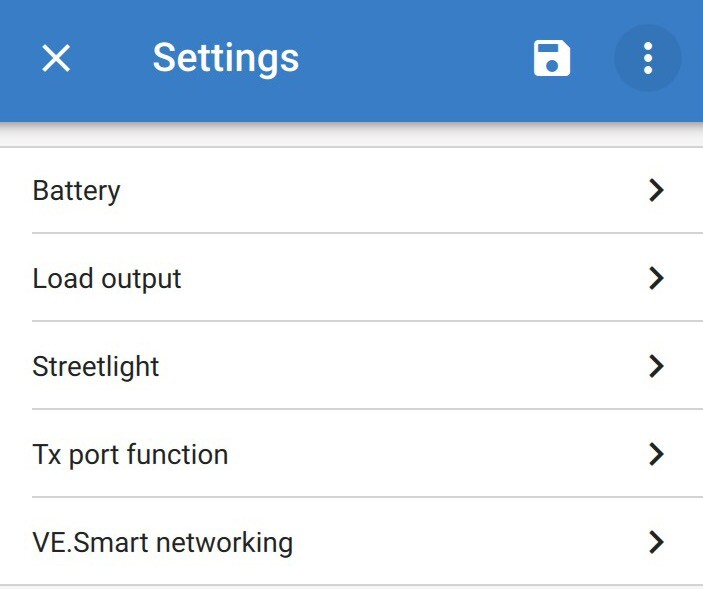
Tap on Battery.
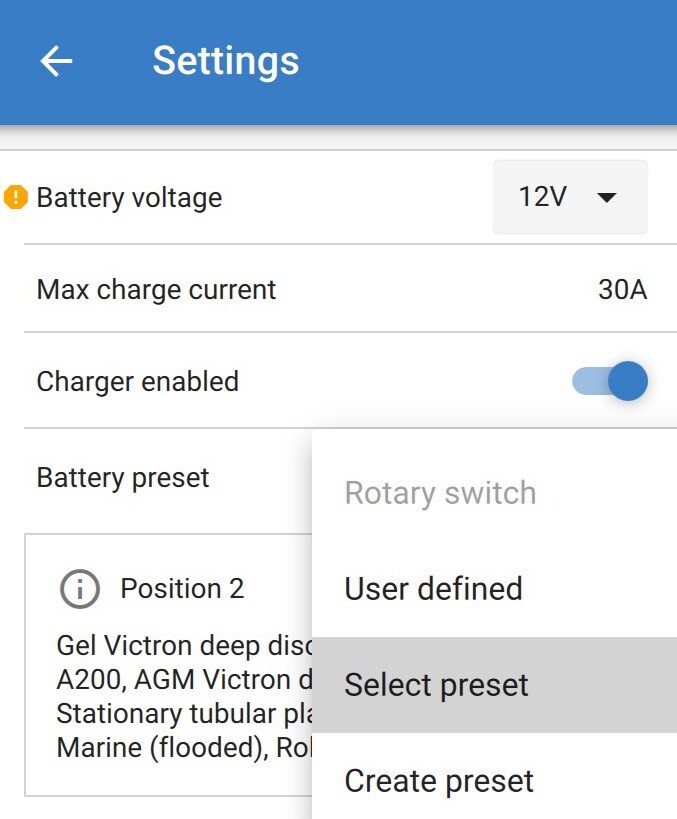
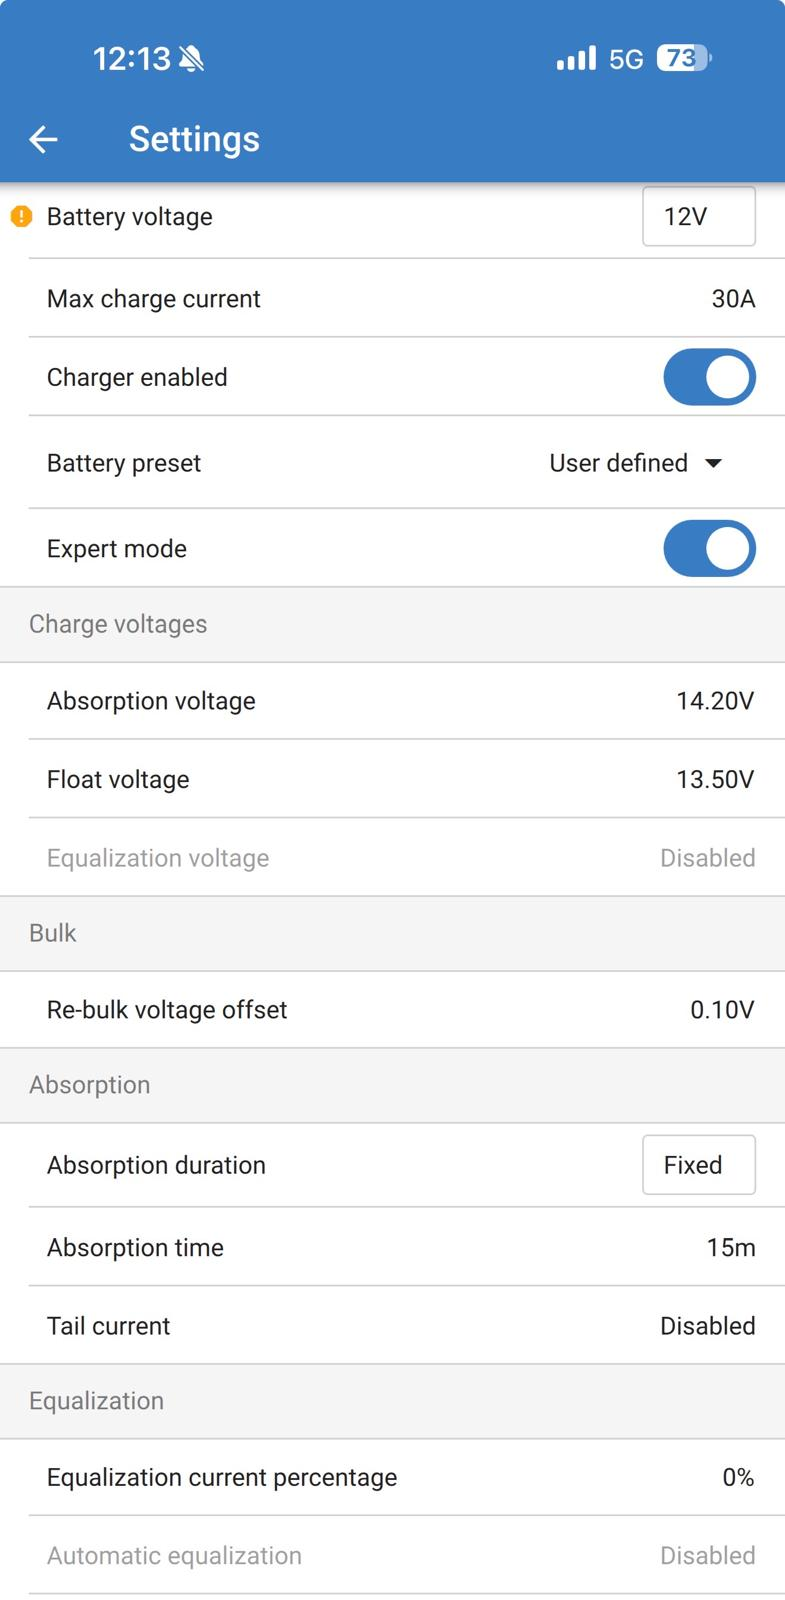
Ensure the Battery voltage is set to the nominal voltage of your battery.
If you need to change this, a box will appear with a code you'll need to type into the text box in order to confirm you are changing the voltage setting.
This is because changing this setting can very quickly damage your batteries and cause safety issues if you change this to the wrong voltage.
Max charge current should be set to the maximum possible on most systems. You should reduce this if you have more charging power than your batteries can cope with, ensuring the batteries are only ever charged at a maximum of 1C (1x the capacity in Ah) when ALL charging sources are running at maximum output.
Charger enabled should be enabled.
Tap on Battery preset and select "Smart Lithium LiFePO4" which is the Victron default for lithium and will work almost perfectly for Roamer batteries, we simply recommend you reduce the absorption time to 30-60 minutes instead of the default 2 hours and reduce storage voltage to 13.25V. Cable resistance can affect when the battery enters absorption mode and while 30 minutes absorption is usually sufficient to fully charge the battery, if you find that the battery is still accepting charge current at the end of the 30 minute period, you can increase this to 60 minutes. To make these changes, follow the steps below:
Toggle Expert mode on
Check Absorption voltage is set to 14.2V
Check Float voltage is set to 13.5V
Set Absorption duration to fixed
Set Absorption time to 30-60 minutes
NOTE: The Absorption voltage of 14.2V is correct for SMART, SMART2, SMART3 and SMART5 batteries. On SMART4 batteries however, the 100% calibration takes place when one cell reaches 3.60V - if cells are perfectly balanced then 14.2V might not be sufficient to reach this threshold. In this case, you can increase to 14.4V. It is also possible to (and perfectly safe) to change the calibration threshold in the BMS settings - if you wish to do this please contact support@roamer.com
Press the back button.
Load Output

Tap on Load output.
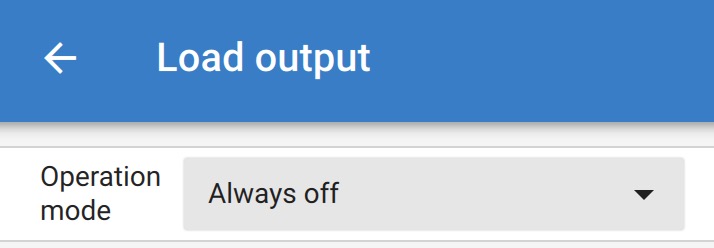
If your controller does not have a 3rd pair of terminals on the bottom labelled "Load", then you can happily select "Always off".
If your controller does have a Load output, then you might not be using it (if there's not cables attached), in this case, you can happily select "Always off".
Turning this load output off can save you up to 40Wh per day, so its well worth turning off if not used.
If you happen to have cables connected to this Load output, then you might have a non-standard setup, in which case, contact Roamer for guidance.
VE Smart Networking
Proceed with this ONLY if your system does NOT have a GX device. This is usually a Cerbo GX or Ekrano GX.
If you have a GX device on your Victron system, then you should use DVCC instead. Contact Roamer for more information on this, or book a system configuration: Book Here
Joining the VE Smart Network
Tap on "VE Smart networking" in the main settings menu.
Tap on "JOIN NETWORK", and select your previously created VE Smart network (we recommend using the SmartShunt / BMV to broadcast the network, as this is reading the voltage closest to the battery).
All done, your SmartSolar is now set up for use.
For any help or support, contact Roamer: support@roamer.com