
SMART4 and SMART5 battery settings for use with Victron DVCC
This article will be a quick introduction into the world of DVCC and how Roamer batteries work to control the charging system to optimal effect.
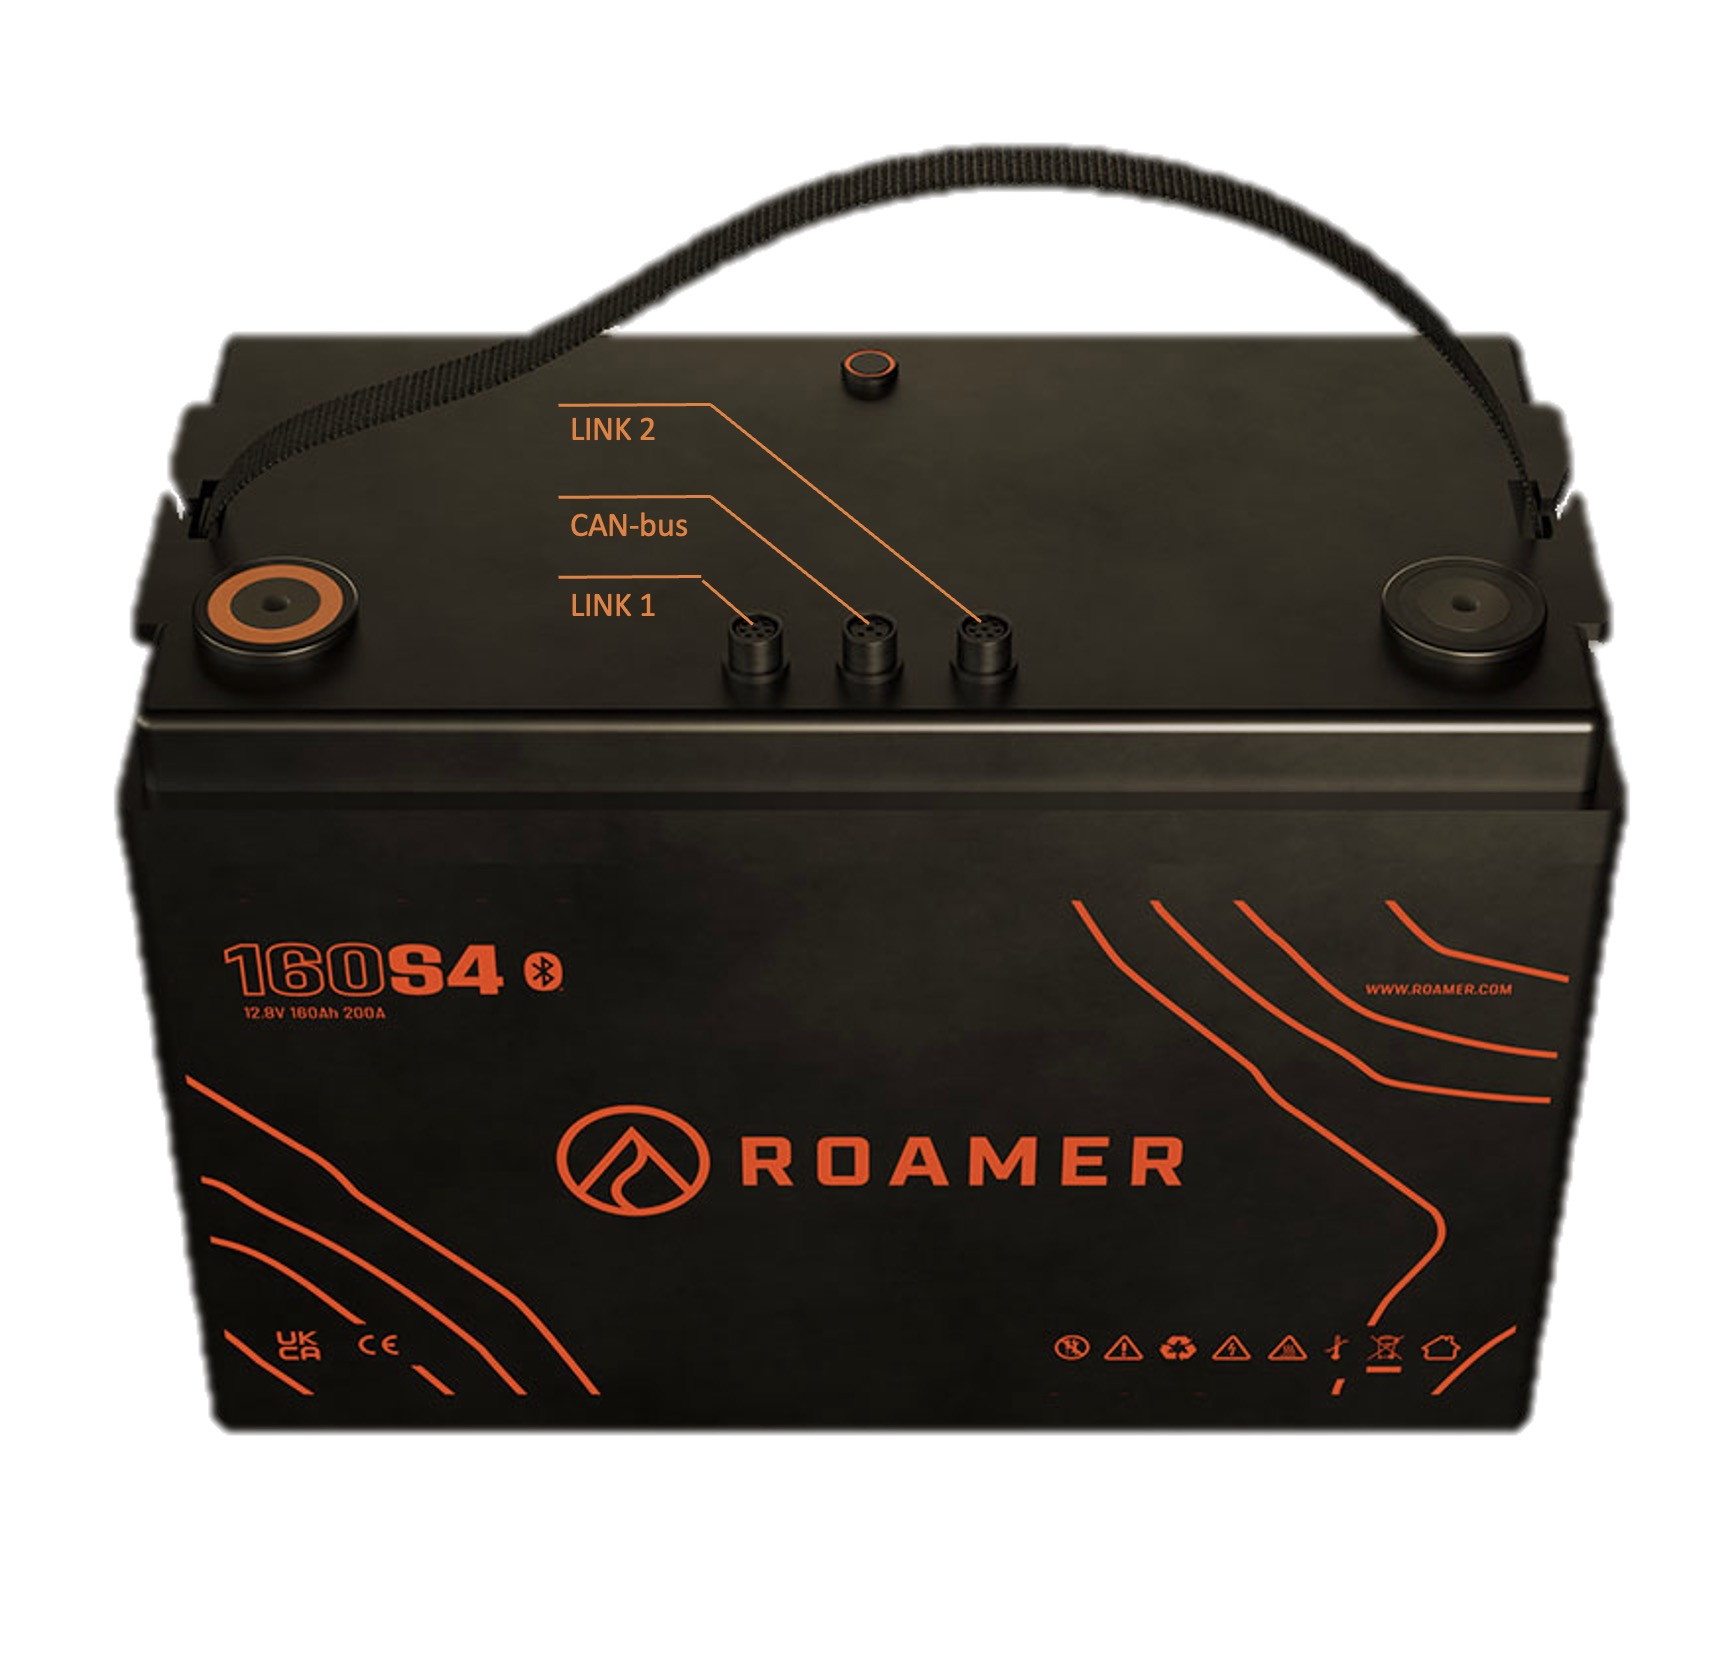
Setting up the Roamer SMART4 / SMART5 battery
Connections
Connecting the Roamer SMART4 / SMART5 battery is simple, we've got a guide here for this.
In short, connect the Roamer to Victron GX CANbus cable (round end) to the middle of the three communications ports on the battery.
Settings
When conected to the battery via the App, you'll need to head over to the Settings page, and toggle on the "Float Charge" option.
In order to change the settings, you will need to enter the password "638203".
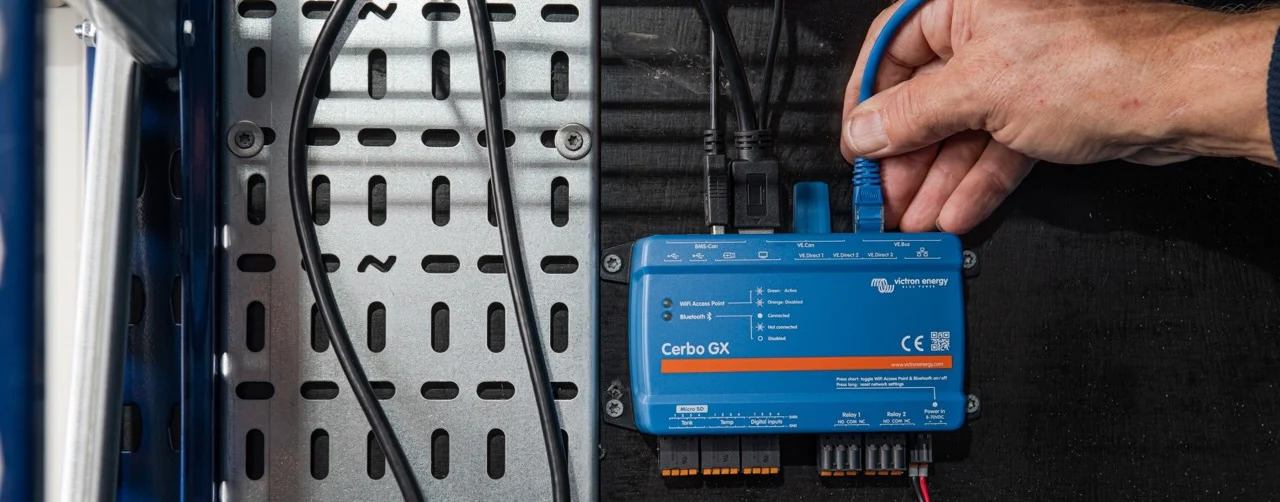
Setting up the Victron GX device
Connections
BMS-CAN
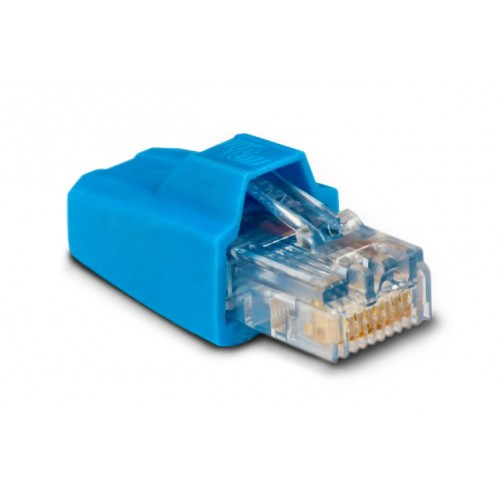
Connecting the cables into the GX device is simple. If you have a BMS-CAN connection on your GX device, simply plug in the Roamer to Victron GX CANbus cable (square end) into one of the BMS-CAN ports, and install a CAN terminator in the other port.
The CAN terminators come with your GX device and look like this:
VE.Can
If you don't have a BMS-CAN connection on your GX device, you can opt to use the VE.Can port instead, and change the function within the software. Simply plug in the Roamer to Victron GX CANbus cable (square end) into one of the VE.Can ports, and install a CAN terminator in the other port.
The CAN terminators come with your GX device and look like this:

See the looped GIF below to see how to change the port function on your GX device touchscreen or VRM Remote Console.
Settings
You might need to select the Roamer SMART4 / SMART5 battery as the "battery monitor" on your GX device. To do this, simply follow the animation below.
You can now follow another guide here to setup DVCC on the Victron side.